Shrines have returned in The Legend of Zelda: Tears of the Kingdom, giving us even more puzzles to bang our heads against as we attempt to solve them. Some range from being relatively straightforward, while others will have you stumped for mere hours before you finally find the solution that was likely staring you directly in the face the entire time.
Found in the northmost portion of the Lanayru Wetlands region is the Ren-iz Shrine, a moderately challenging one that will put Link's new abilities to the test, having him come up with creative ways to get the Ball in its goal to advance to new areas of the Shrine.
Ren-iz Shrine (Jump The Gaps) Walkthrough
The Ren-iz Shrine is a series of puzzles involving you having to put together ramps to successfully launch a Ball into a goal that sits far across a bottomless pit, leaving no room for error. The solution for all puzzles and how to obtain the Treasure Chest can be found in the sections below!
Ren-iz Shrine First Puzzle Guide


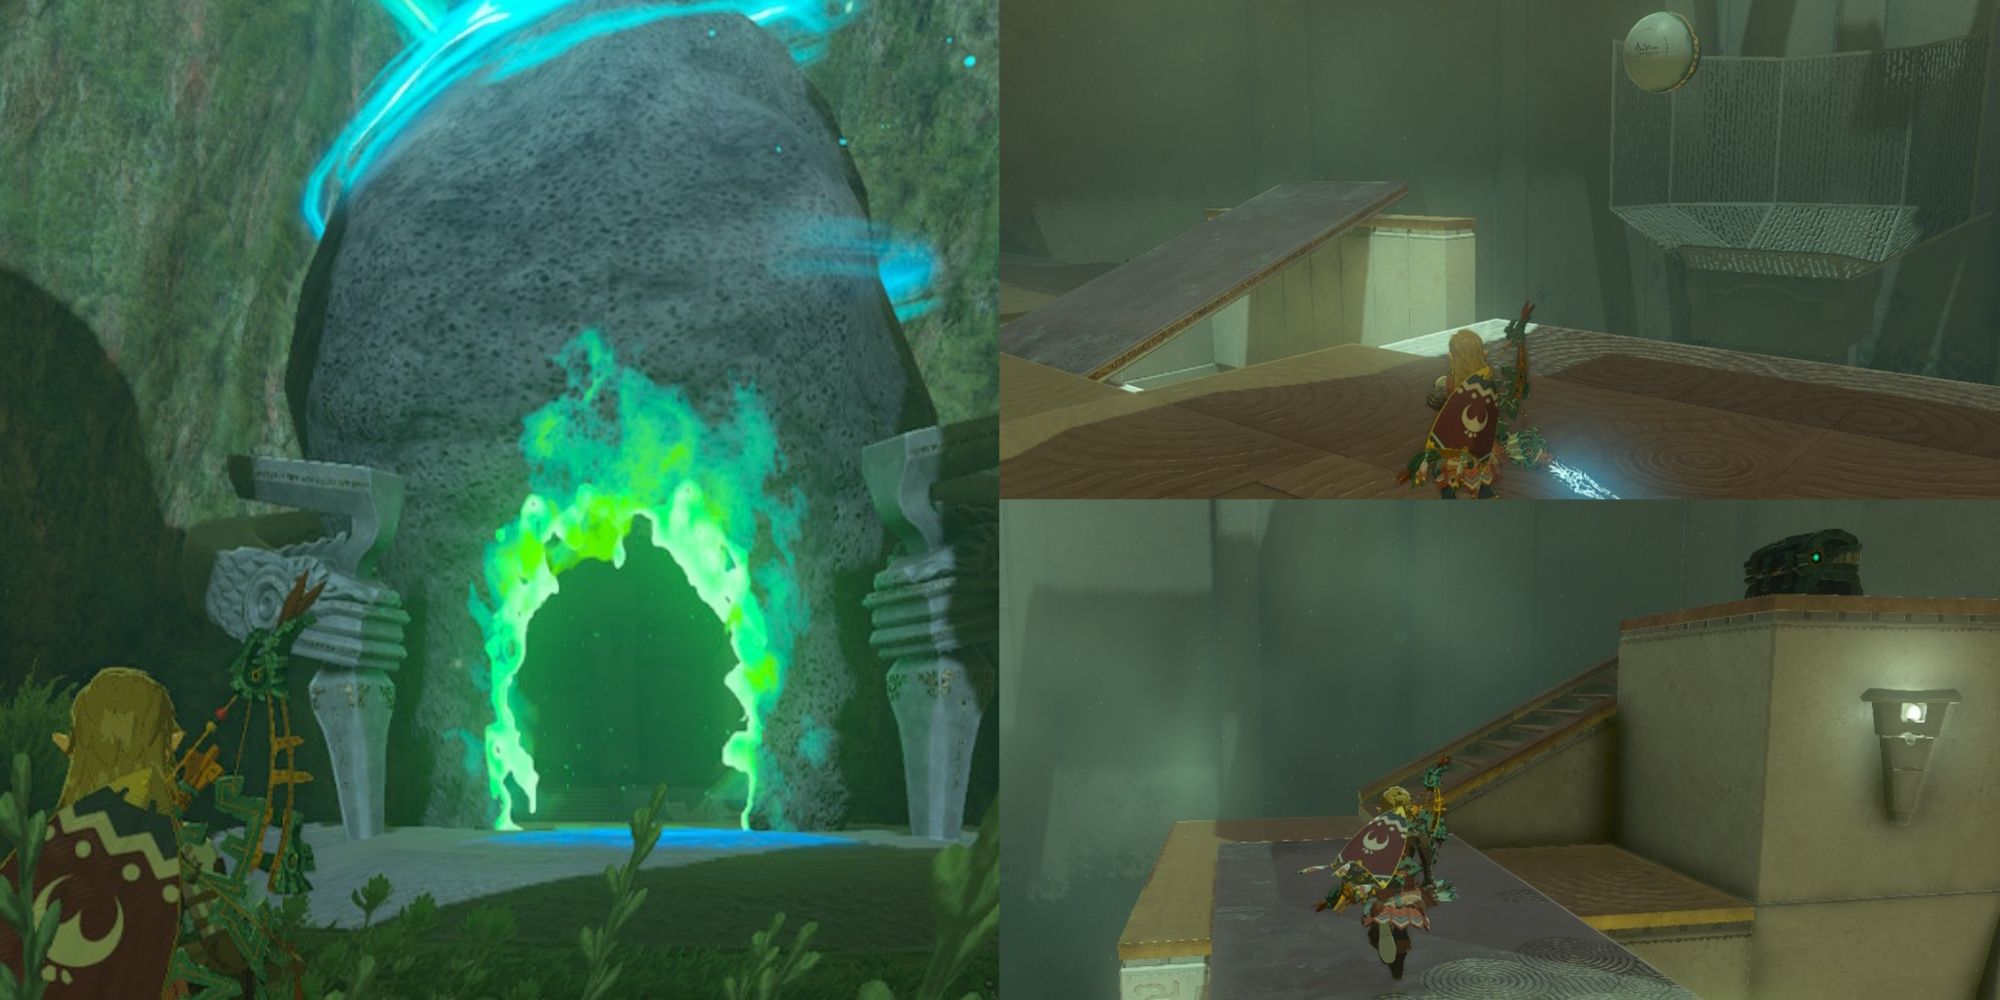
Our first puzzle of the Ren-iz Shrine has a couple of interactable objects, the Long Stone Slab and the switch that activates the Ball, dropping it down the steep ramp found opposite of its goal.
The Ball will roll down the ramp with tremendous speed. Your objective is to have it maintain that speed and reach its goal. Fortunately, the first puzzle is more or less straightforward.
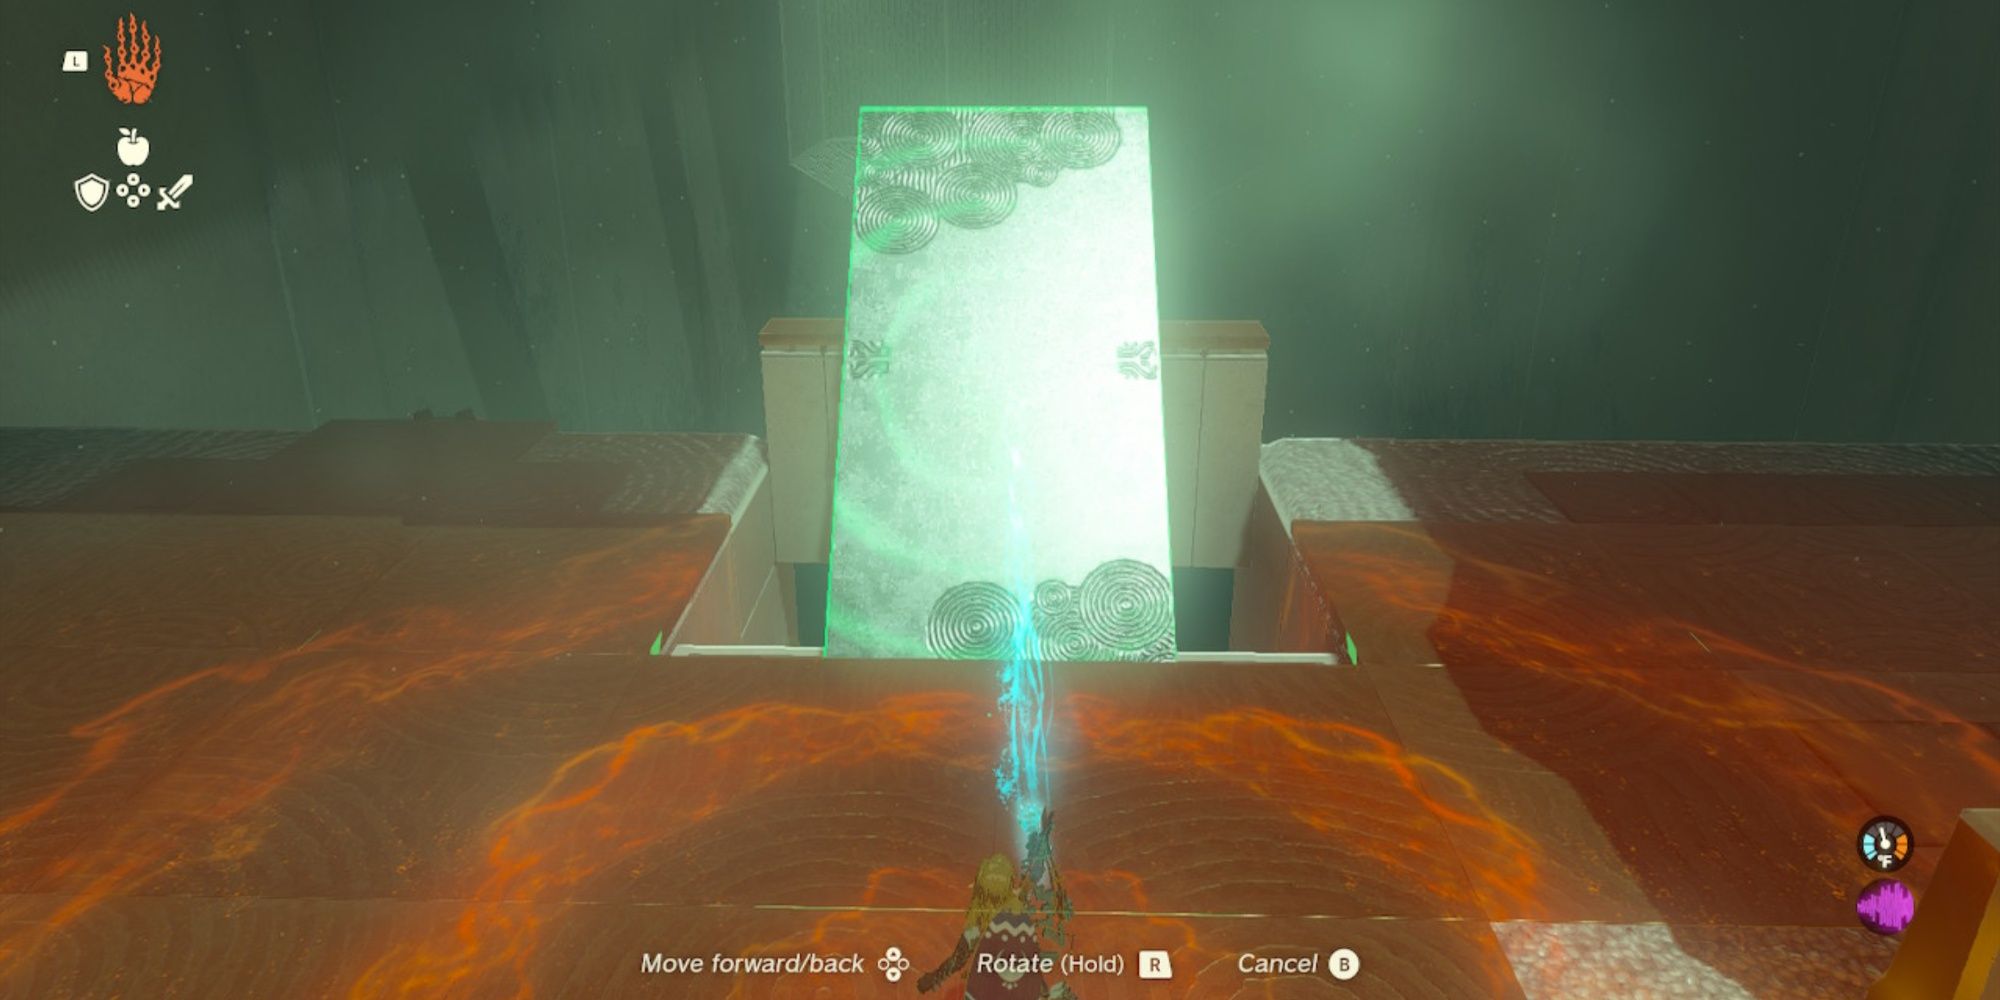
Grab the Long Stone Slab with your Ultrahand and move it toward the elevated white wall. You will notice a sizable gap between the gap and the wall, along with a slight notch where the floor ends.
Rotate the Long Stone Slab vertically, then angle it downward slightly to create a ramp-like object. Place the bottom of the ramp (the end closes to you) on that notch, having the upper portion of the ramp rest on the top of the elevated wall.
A bit of the Long Stone Slab will be hanging over the wall, but that's fine so long as it is positioned in the center and sturdy. After you place it, hit the orange switch to trigger the Ball, which will have it roll down a steep ramp, then up the one you made, and into the goal!
Ren-iz Shrine Treasure Chest Guide


After completing the first puzzle, grab the Long Stone Slab and bring it into the room you just unlocked. Here, you will find another Long Stone Slab. Using your Ultrahand, attach one Long Stone Slab to the end of the other, creating an even longer Stone Slab.
Then, to the right of this area, you will see a Treasure Chest resting atop a raised platform. However, a sizable gap prevents you from easily reaching it.
Using the bridge you just created, place it over the gap, walk over it, up the stairs, and open the Chest to acquire the Strong Zonaite Shield with a Defense Potency of 26.
With your Treasure claimed, make your way back to the main floor, grab hold of the bridge you created with your Ultrahand, and shake one Long Stone Slab loose from the other, as you will only need one for the next puzzle.
Ren-iz Shrine Second Puzzle Guide


For this next puzzle, you will need to attach the Small Stone Slab to the end of a Long Stone Slab, but the Small Stone Slab will have to be adjusted at a slight incline, essentially creating a small ramp at the end of the Long Stone Slab (as shown in the image above).
That is only one-half of the solution, as the ramp placement is crucial to getting the Ball into the goal. Placing the ramp too close to the inside of the runway will have the Ball miss its mark by a long shot, and putting it too far away will create too big of a gap... or will it?
The trick to this puzzle is that no gap is too big to stop the trajectory of the Ball, meaning you must place your makeshift ramp just at the edge of the runway (as pictured above).
This will have the Ball skip over the gap with tremendous speed, maintain its momentum, and safely launch off your ramp and into the goal.
So, after you position your ramp in the center of the runway (the concaved area in front of the steep ramp the ball travels down), you can safely hit the switch to send the Ball down the ramp, across yours, and into the goal to complete the Shrine!
Placing the ramp too close to the edge may cause it to flip when the Ball hits it, so position it just before the edge, leaving a small section of the ground visible to avoid this from happening!


