Quick Links
Shrines are an integral part of The Legend of Zelda: Tears of the Kingdom, and Sinakawak Shrine stands as one of the most interesting and fun challenges this title has to offer. Filled with balloons, you'll need to rise to the challenge to walk away with another blessing (and maybe an opal, too).
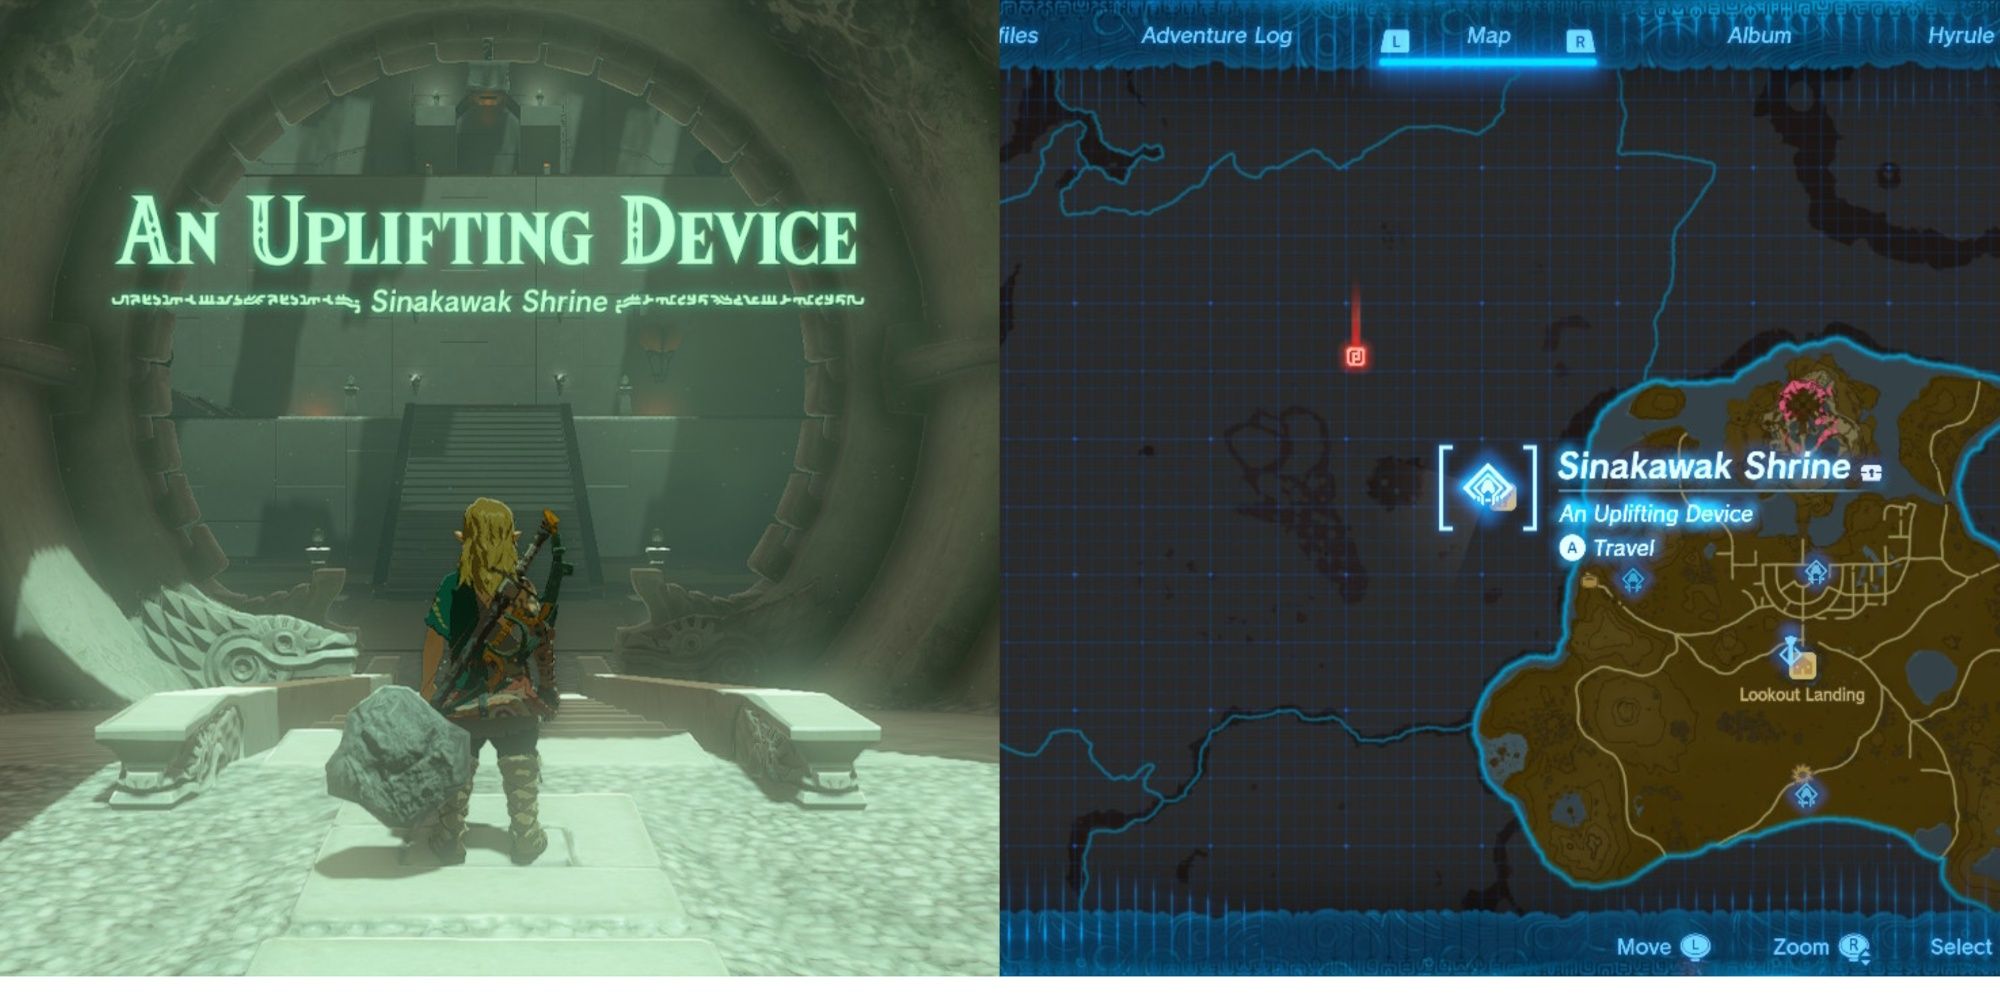
You can find this shrine to the west of the central Hyrule region in the North Hyrule Plain. It's a staple location you'll want to grab before making your way any further west, and the prize of an opal is a nice early-game bonus for those of you looking for a few extra rupees.
How To Complete Sinakawak Shrine: The Uplifting Device
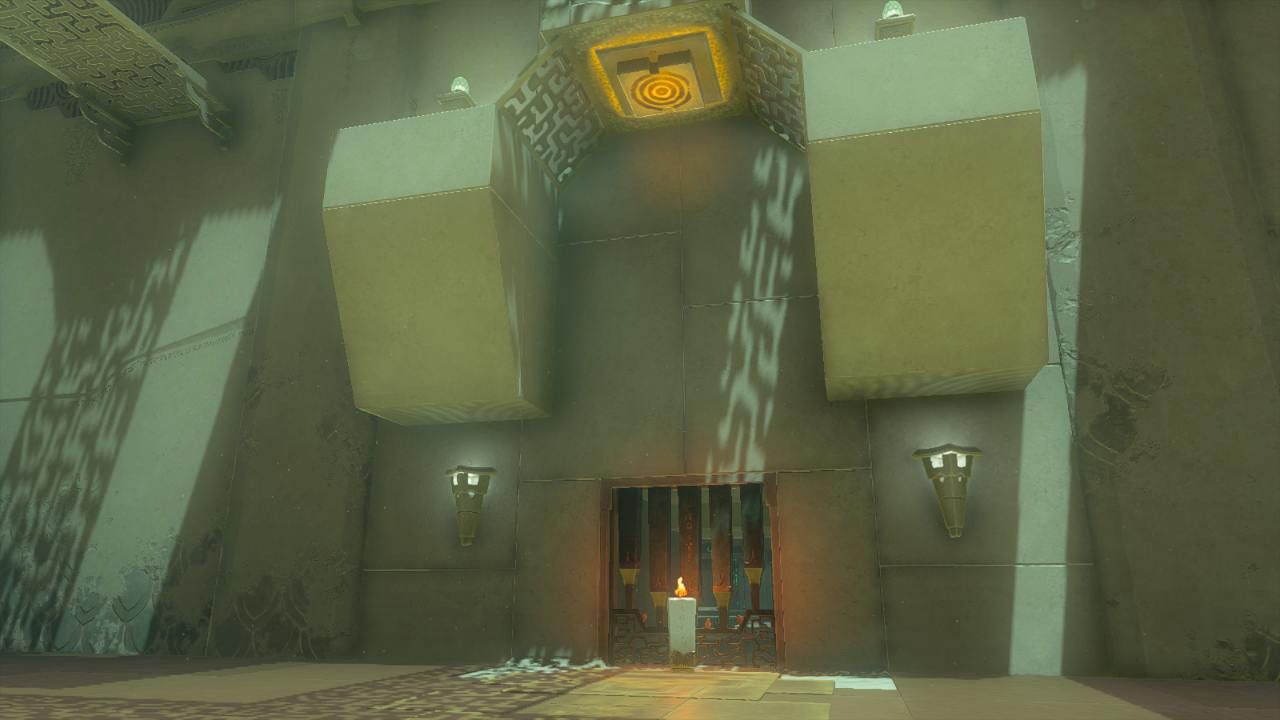
The first room of this shrine is an introduction to balloons. You'll notice several balloons and torch pillars, one pair showcasing how torches can make balloons float under a platform on the right.
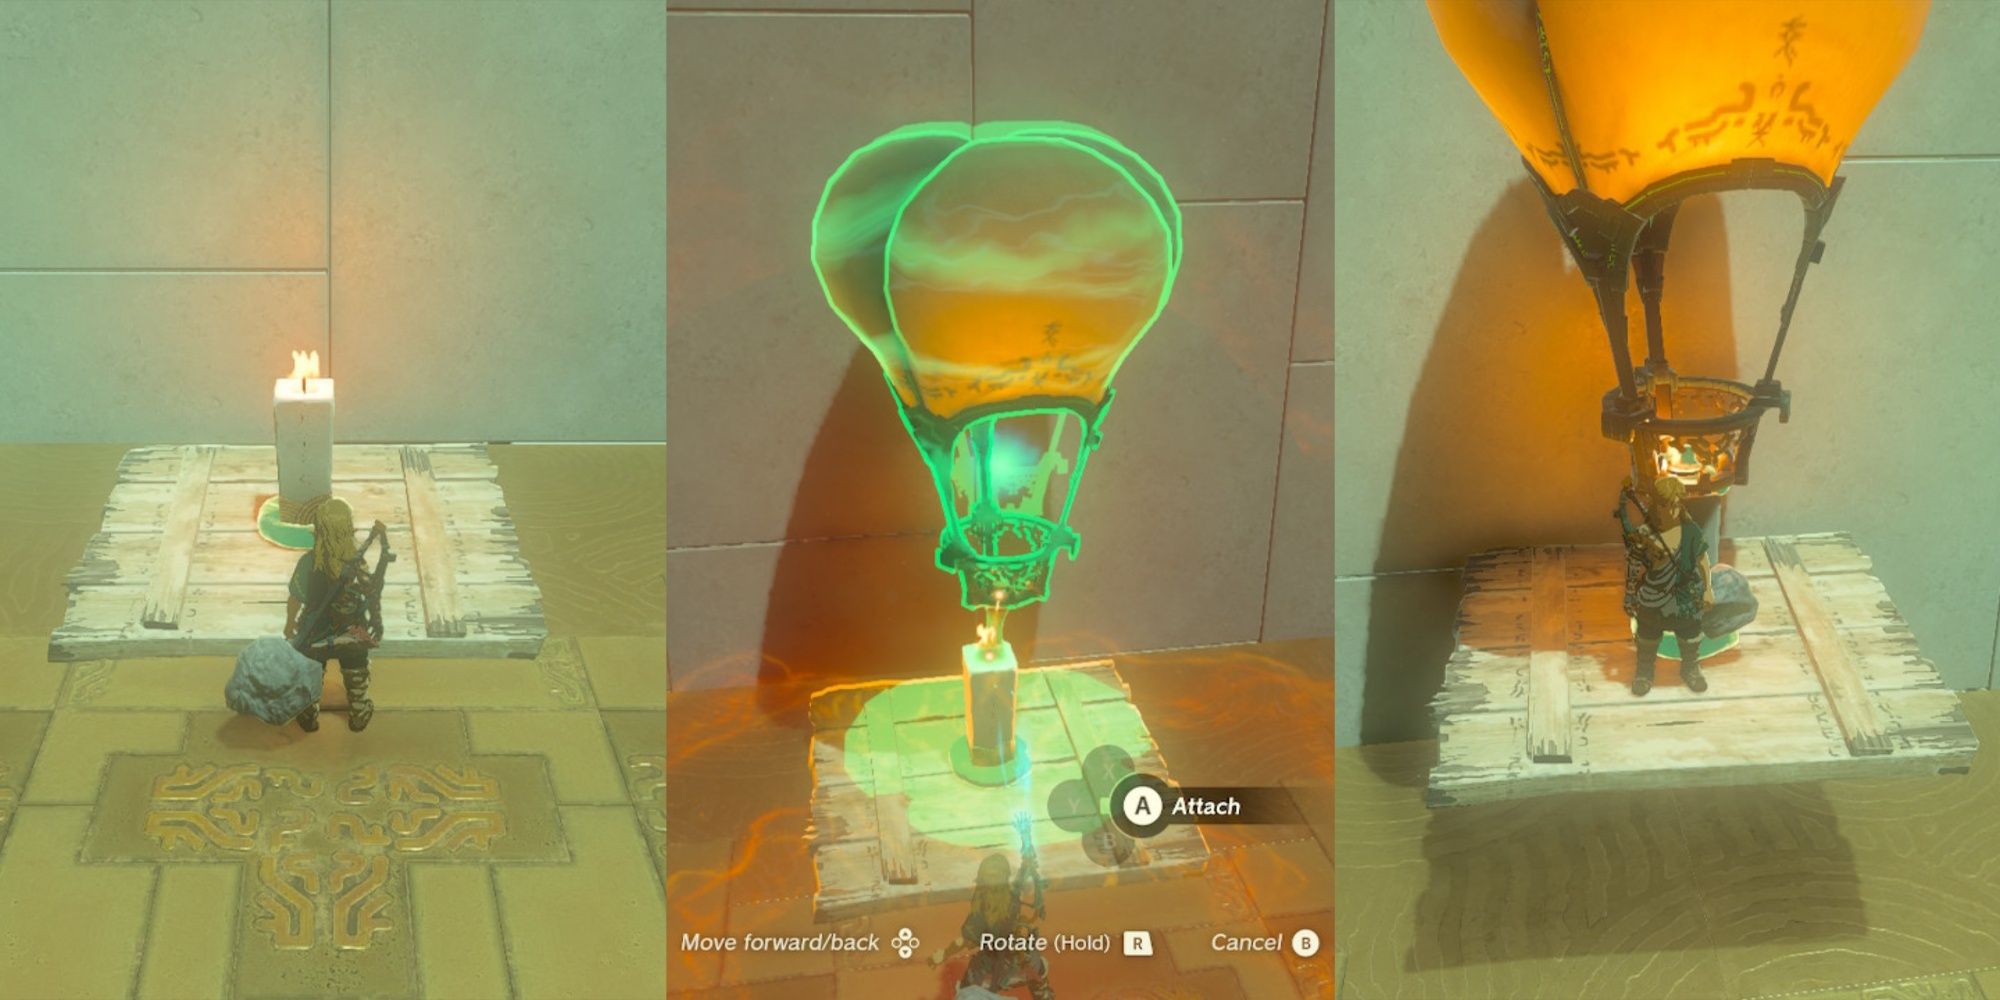
Ignore the pair for now and instead grab the large wooden board off to your left. Place it on the ground near the wall and between the line of torches scaling it.
Take the torch from nearby and attach it to the center of this raft. Take care not to place it on a corner, or your platform will go a little wonky on the way up.
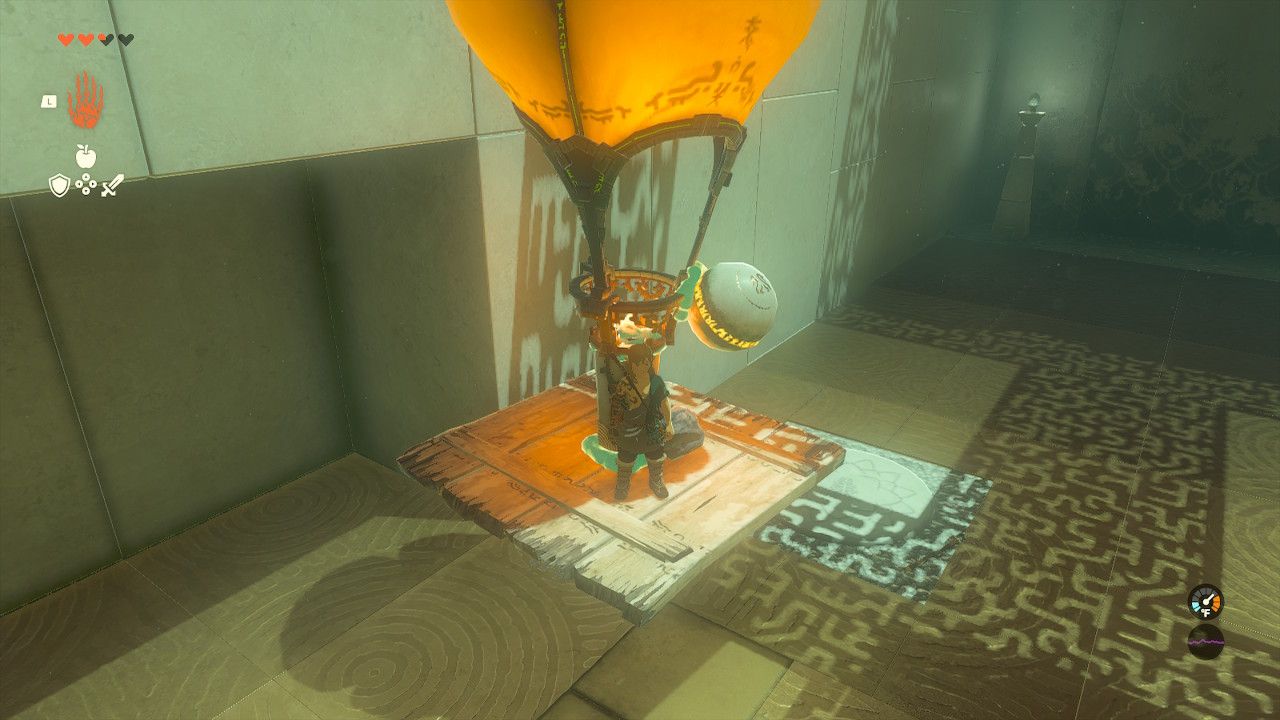
With your torch secured, step onto the platform while attaching the balloon to the torch.
With the balloon attached and you on board, you'll slowly begin your ascent up, but that doesn't mean you should relax.
Once you're able to jump off at the top, do so and quickly turn around to grab the bottom of the platform to keep it from flying off.
Pull the balloon platform with you over to the gate where you can let go again and have it rise to strike the gate button above.
If you don't manage to catch your balloon, don't worry. You can Ascend through the walkway above and grab it. Pull it over until it's right above the area in front of the gate. Then unstick the balloon and/or the pillar (it doesn't matter which) to send them falling back down.
You don't need the platform for the button, so you can just stick the balloon and the pillar back together in front of the gate.
The Second Trial - Two Balls, One Goal
In the next room, you'll need to open the gates on the other side by pulling up at least one orange ball from the chasm far below. Getting both will unlock a chest with an Opal for you.
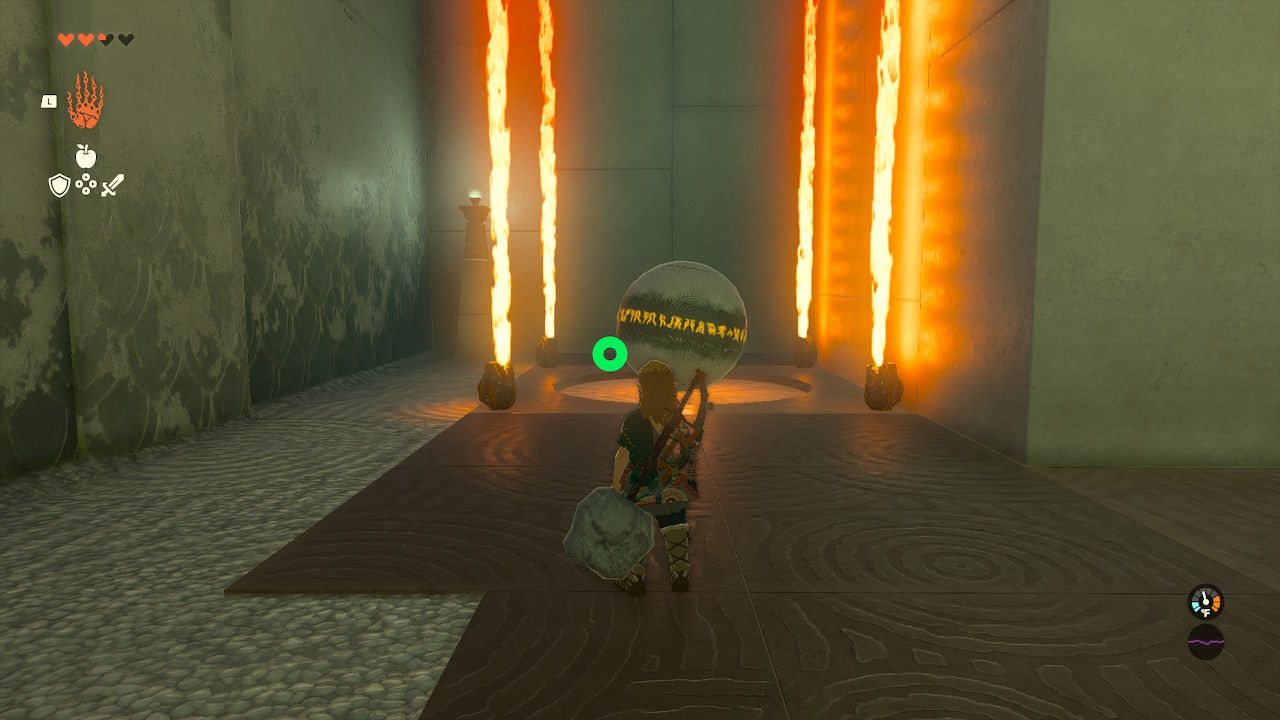
So, once you enter, jump off the walkways and glide into the chasm. You'll see:
- Several balloons to your left.
- Four torch pillars.
- A wooden board.
- A small orange ball.
- A large orange ball surrounded by four continuous flame pillars.
If you'd like to take the quick and easy way through the shrine without worrying about the Opal, all you must do is create another balloon ride like you did in the previous room. However, this time you'll need to attach the small ball to a part of your ride before bringing the device to the top.
If you'd like the Opal, you'll need to build a much sturdier platform.
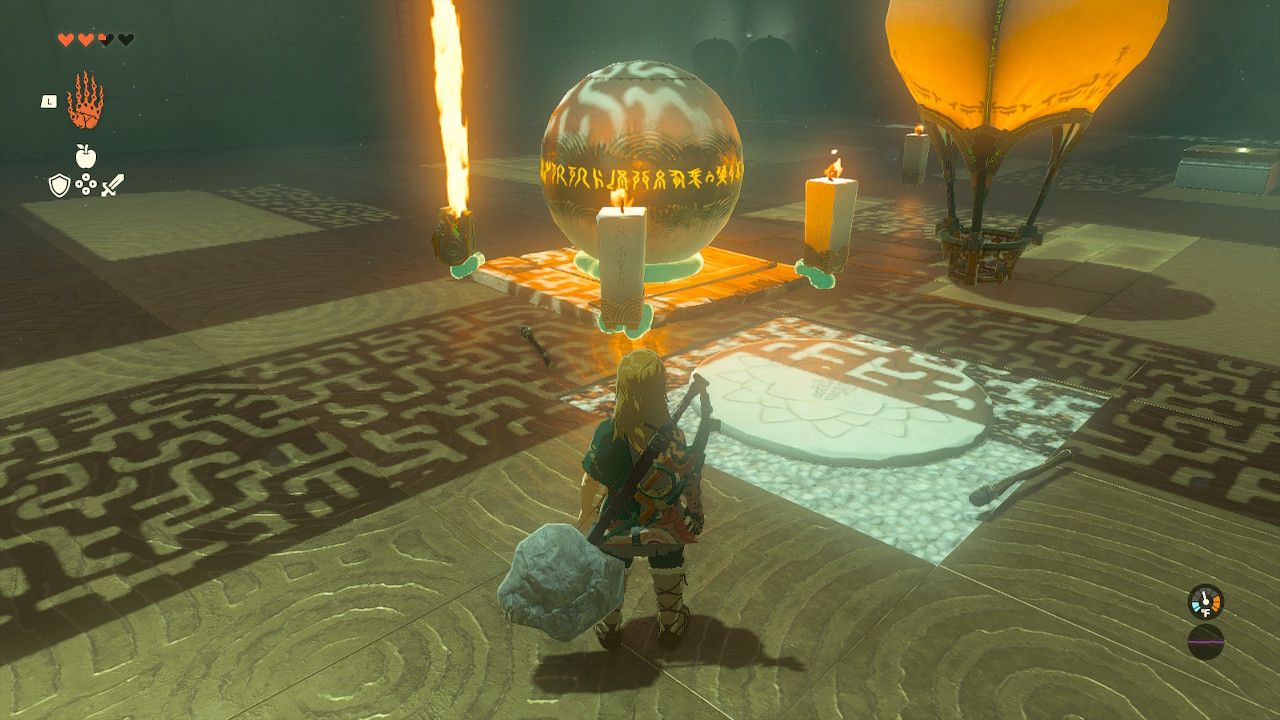
Place all four normal torch pillars on the four corners of the wooden board - which should be placed near the wall. Do not attach any balloons yet.
Next, run over to the large ball and take it to the board. Place it in the center. Then, attach the smaller ball on any part of it.
Begin placing the balloons on the pillars. Ideally, you should place these balloons first diagonally across from one another and then on your choice of a third pillar.
Alternative Solutions: If you'd like the challenge, you can attempt making this floating device with the continuous flame pillars around the large ball. However, attaching a balloon to one of these will immediately make the balloon fly away. If attached to the wooden board, it'll fly up lopsided.
You'll only need two balloons on diagonal corners with these flame pillars to make it fly. It does fly way faster, but it's far less stable.
Additionally, applying the flame pillars can run the risk of burning the board. If you do, don't worry. The board respawns after a few moments.
Hop onto the platform as it takes off and, like in the last room, jump off as soon as you can and grab the platform before it gets away.
Alternative Solutions: If you don't manage to hop onto the platform, there is a ladder behind you that you may take to the walkways above. Run over to where your balloon has flown off to, carry it over, and unstick them when above the ball switches.
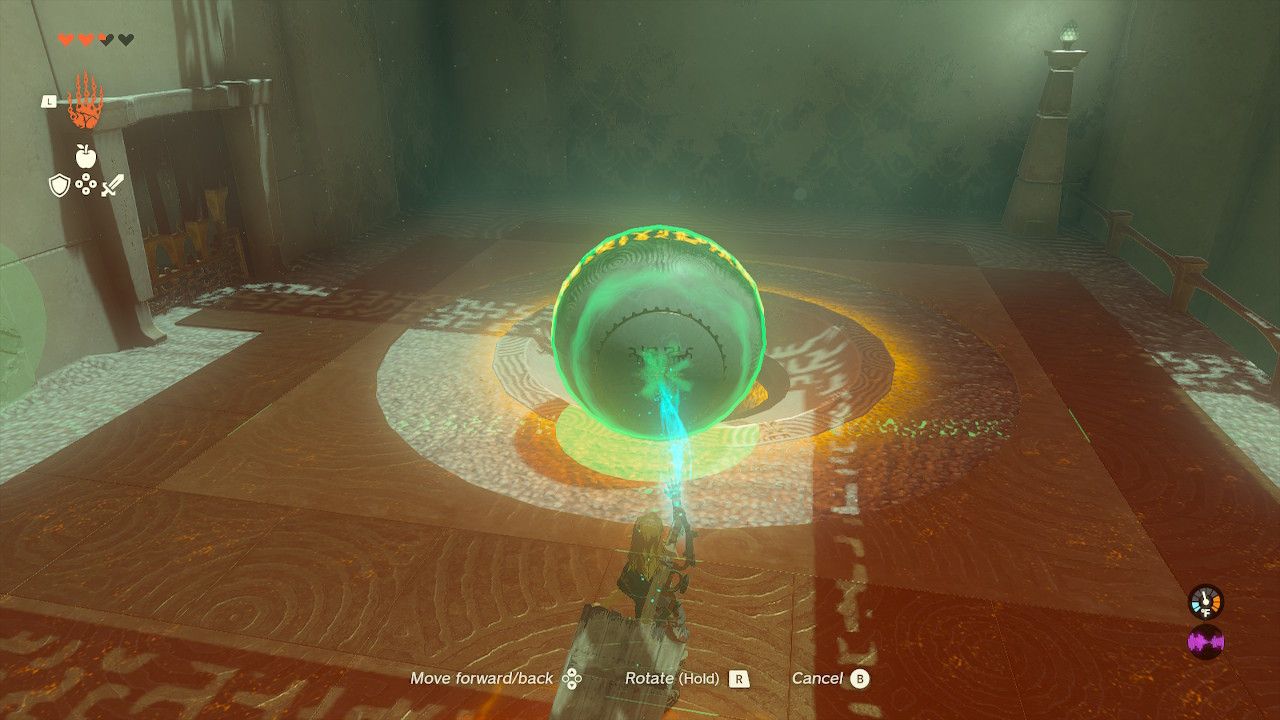
Unstick the wooden board while over the upper area here to send both balls tumbling to the ground.
Separate the balls and place them in their respective circles (the small on the left and the big on the right). The Opal chest will be past the door with the big ball, and the end of the shrine can be reached through the door with the small ball.

