The Power of Water Shrine, Mogawak Shrine, is a simple, single-stage puzzle in The Legend of Zelda: Tears of the Kingdom. Short, sweet and to the point, this little water challenge introduces the concept of batteries, and if you haven't used them for your built devices yet, you'll definitely want to after this.
This shrine is a staple teleportation location hidden right under the Zora Domain's main city plaza. You'll need it if you want to make quick trips back to the Domain, and the nearby Goddess Shrine makes this all the more appealing. The practice for the upcoming Water Shrine is the icing on the fish.
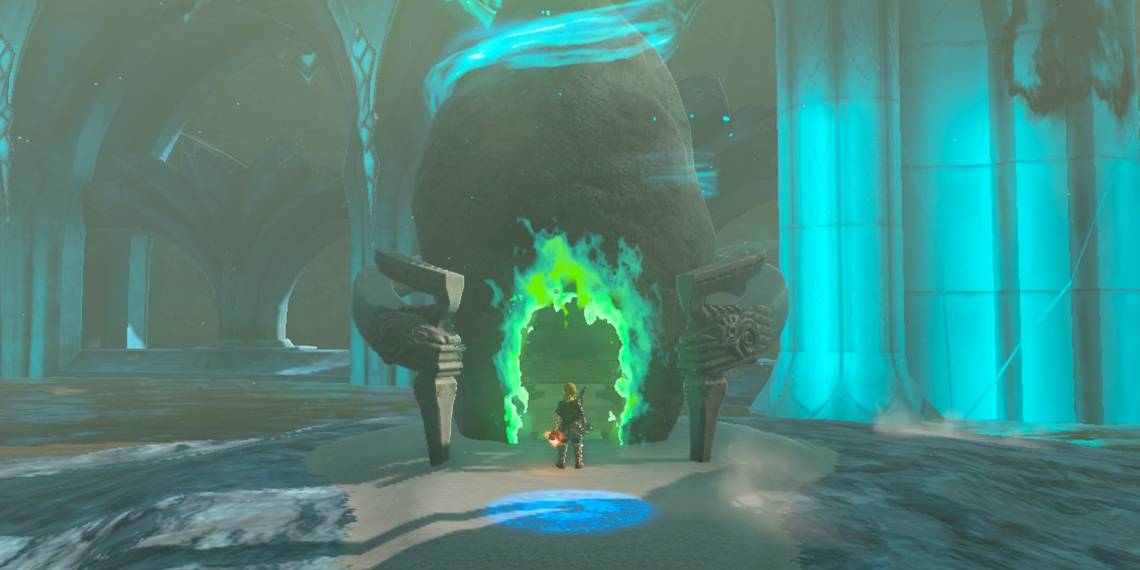
How To Complete Mogawak Shrine: The Power Of Water

There is only one room in this trial, and it features only a single, short puzzle, if you choose to skip the chest.
To begin with, take a look at your surroundings. Your goal is straight ahead: the elevator platform that is unpowered.
To your left, you'll see a pool of water with a battery conduit. Inside this pool are two metal balls, and on the far side of it, there is a sealed gate with a chest behind it.

Focus on your right where you can see a thin waterfall and a device attached to the battery's nonfunctioning conduit. There's a small square piece on the ground next to it.
Pick up the square piece and rotate it so that it's facing vertically. Attach it to the opposite side of the square on the contraption on the wall. Once it's in place, pull this contraption until one of the squares on it touches the water. This will create a spinning water wheel to power your battery.
Wait for the battery to fill up.

If you'd like the chest on the far side (which contains one Opal), you'll need to carry the filled battery over to the pool of water.
Place the battery on the round place for it next to the water, and this will electrify one of the small metal balls in the water. Notice that the electricity disperses in the water and creates a small sphere.

Pull the metal balls toward one another in the water with Ultrahand until both are within the area of effect of the electricity. This will open the gate.
From here, you can jump into the water and swim across along one of the walls, avoiding the electricity, to get to the gate.
Make sure that you have enough battery charge to make it, or you'll need to turn around and redo this puzzle.

With your Opal in hand, you can pick up the battery again and take it to its charging station at the water wheel, then fill it.
With the battery fully charged, march up to the elevator platform that's supposed to take you up and place the battery down (but not on its little conduit yet). Jump onto the platform and use your Ultrahand to place the battery in its rightful spot to take yourself up to the end of the shrine.