Much like its predecessor, Star Wars Jedi: Survivor includes a ton of new secrets, upgrades, and collectibles for you to find throughout your journey. However, tracking them all down can prove rather challenging, especially if you haven’t yet unlocked the associated map upgrade for each type of collectible.
To make things easier, it’s recommended you seek out every map upgrade in Jedi: Survivor as soon as possible by traveling to specific locations across different planets. Along the way, you’ll also discover new paths, shortcuts, and secrets that will enhance Cal’s abilities and make exploring these areas a lot easier in the future.
6 Every Map Upgrade In Star Wars Jedi: Survivor
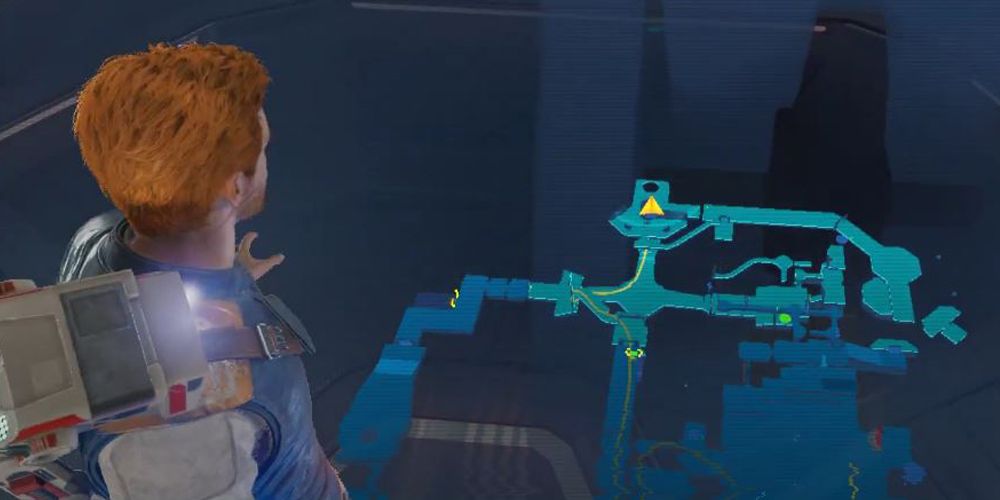
There are a total of five types of map upgrades in Jedi: Survivor that will enhance the Holomap to reveal new collectibles belonging to the following categories:
- Chests (contain customization items, perks, Stim Canisters, and BD-1 upgrades )
- Seed Pods (contain seeds for gardening)
- Essences (used to unlock skills , health upgrades, and perks)
- Treasures (Priorite Shards, Datadiscs, etc.)
- Databanks (scannable data entries)
To unlock each upgrade, you’ll need to complete certain challenges and tasks to reveal map upgrade terminals in designated areas. These tasks will vary depending on the upgrade type, so keep reading on to see a full breakdown of the steps and locations assigned to each one.
5 Chests Map Upgrade
Considering every chest you open in Jedi: Survivor has a chance of dropping new customization items and perks, they’re extremely valuable as far as collectibles are concerned. As such, you’ll want to find as many as possible by unlocking the Chest Map Upgrade nestled at the very bottom of the Phon’Qi Caverns on Koboh.
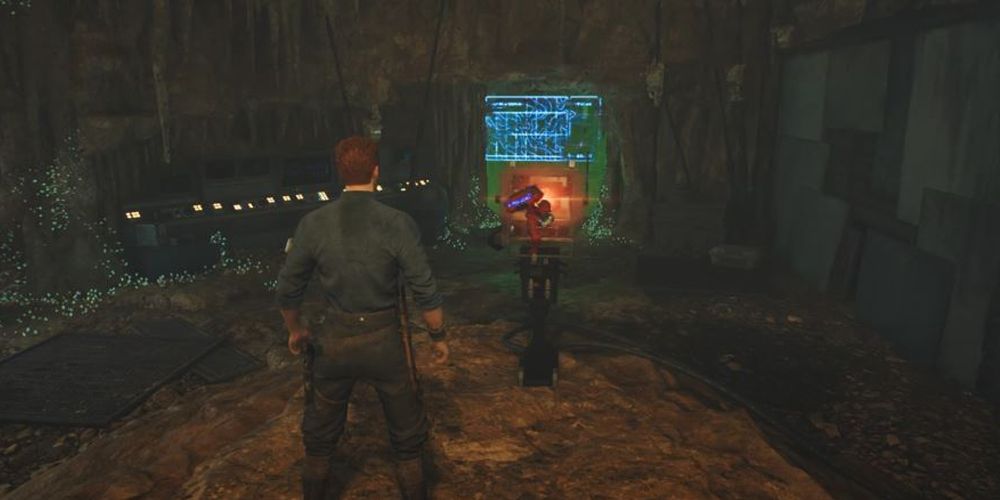
Once you arrive at the planet, make your way to Prospector’s Folly and continue until you reach the Mountain’s Ascent area. Here, you’ll find a terminal that you can interact with to have all unfound chests, Stim Canisters, and BD-1 upgrades appear on the Holomap.
Keep in mind, to reach this area you’ll need to have unlocked Cal’s Force Lift and Slam abilities as well as obtained Merrin’s Charm.
4 Seed Pods Map Upgrade
This next Jedi: Survivor map upgrade is not only easy to get but can be a lot of fun if you’re someone who has a green thumb. The first step is to recruit the gardener Pili Wade from Jedha before returning to Pyloon’s Saloon for a rooftop gardening session.
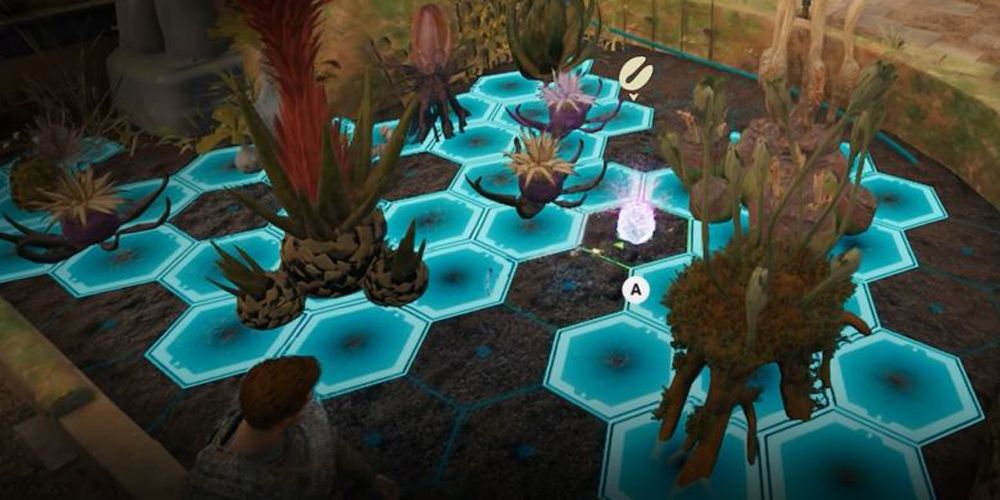
You’ll need to grow one of all ten species of plants to unlock every plot, which can be done by gathering seeds you chop from wild plants surrounded by fireflies throughout the world. Once the entire rooftop is overflowing with nature, the vines covering the terminal at the edge of the rooftop will magically disappear, allowing you to interact with it to reveal all Seed Pod locations on Cal’s map.
3 Essences Map Upgrade
Arguably the most important collectible in Jedi: Survivor, Essences are bright blue orbs that can be used to unlock skill points, max health upgrades, and various other perks that will enhance Cal’s abilities and combat prowess. As you would expect, the requirements for finding them all entail a hefty challenge.
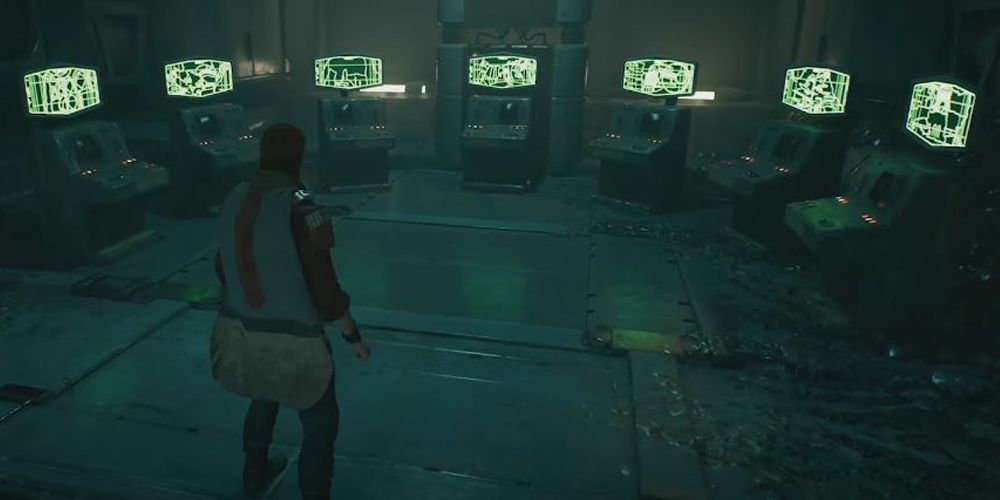
To unlock the Essences Map Upgrade, you must first complete all seven Jedi Meditation Chambers. Once you’ve accomplished this heroic feat, simply return to the Alignment Control Center inside the Untamed Downs on Koboh.
You’ll know whether you’ve completed each task as every terminal monitor will display a green-colored screen instead of a red one.
2 Treasures Map Upgrade
The Treasures Map Upgrade is likely to the most time compared to other map upgrades as it involves carrying out multiple steps that will take you back and forth across Jedha. Upon arriving at the desert planet, make your way towards Wayfinder’s Tomb, which will appear inaccessible before hinting at three key locations you need to visit.
Make a beeline for Jedha’s Northern, Southern, and Western Desert Ruins, where you’ll find three separate puzzles containing both timed and movement-based elements. The goal of these puzzles is to guide a metal ball to the top of a structure.
After completing all three puzzles, return to the tomb and take the elevator down to reveal a terminal containing the Treasures Map Upgrade and locations of all Priorite Shards, Datadiscs, and other miscellaneous Treasures.
1 Databanks Map Upgrade
Found inside the Central Command area on Nova Garon, the Databanks Map Upgrade can be encountered easily just by advancing through Jedi: Survivor’s story until you reach the fifteenth main mission titled “Nova Garon – Locate the Traitor.”
During this mission, you’re confronted by Lank Denvik and ultimately end up fighting him; after successfully defeating Lank, you can return to his desk inside the Central Command area to discover a new accessible terminal. Have BD-1 slice into the terminal to unlock the Databanks Map Upgrade and conveniently display all available Databank entries on your Holomap.


