Quick Links
When it comes to games where the story is slowly released across multiple updates like Honkai: Star Rail, end-game content becomes very important. This is the content that'll keep players interested in the game even during downtimes when there's not much to do. Simulated Universe is one such mechanic.
It's unlocked quite early in the game through the main story. Herta will first ask you to complete two beta tests before eventually launching the main system. The Simulated Universe contains a total of six worlds, and you can only get to a particular world after beating the previous one.
World Two General Walkthrough
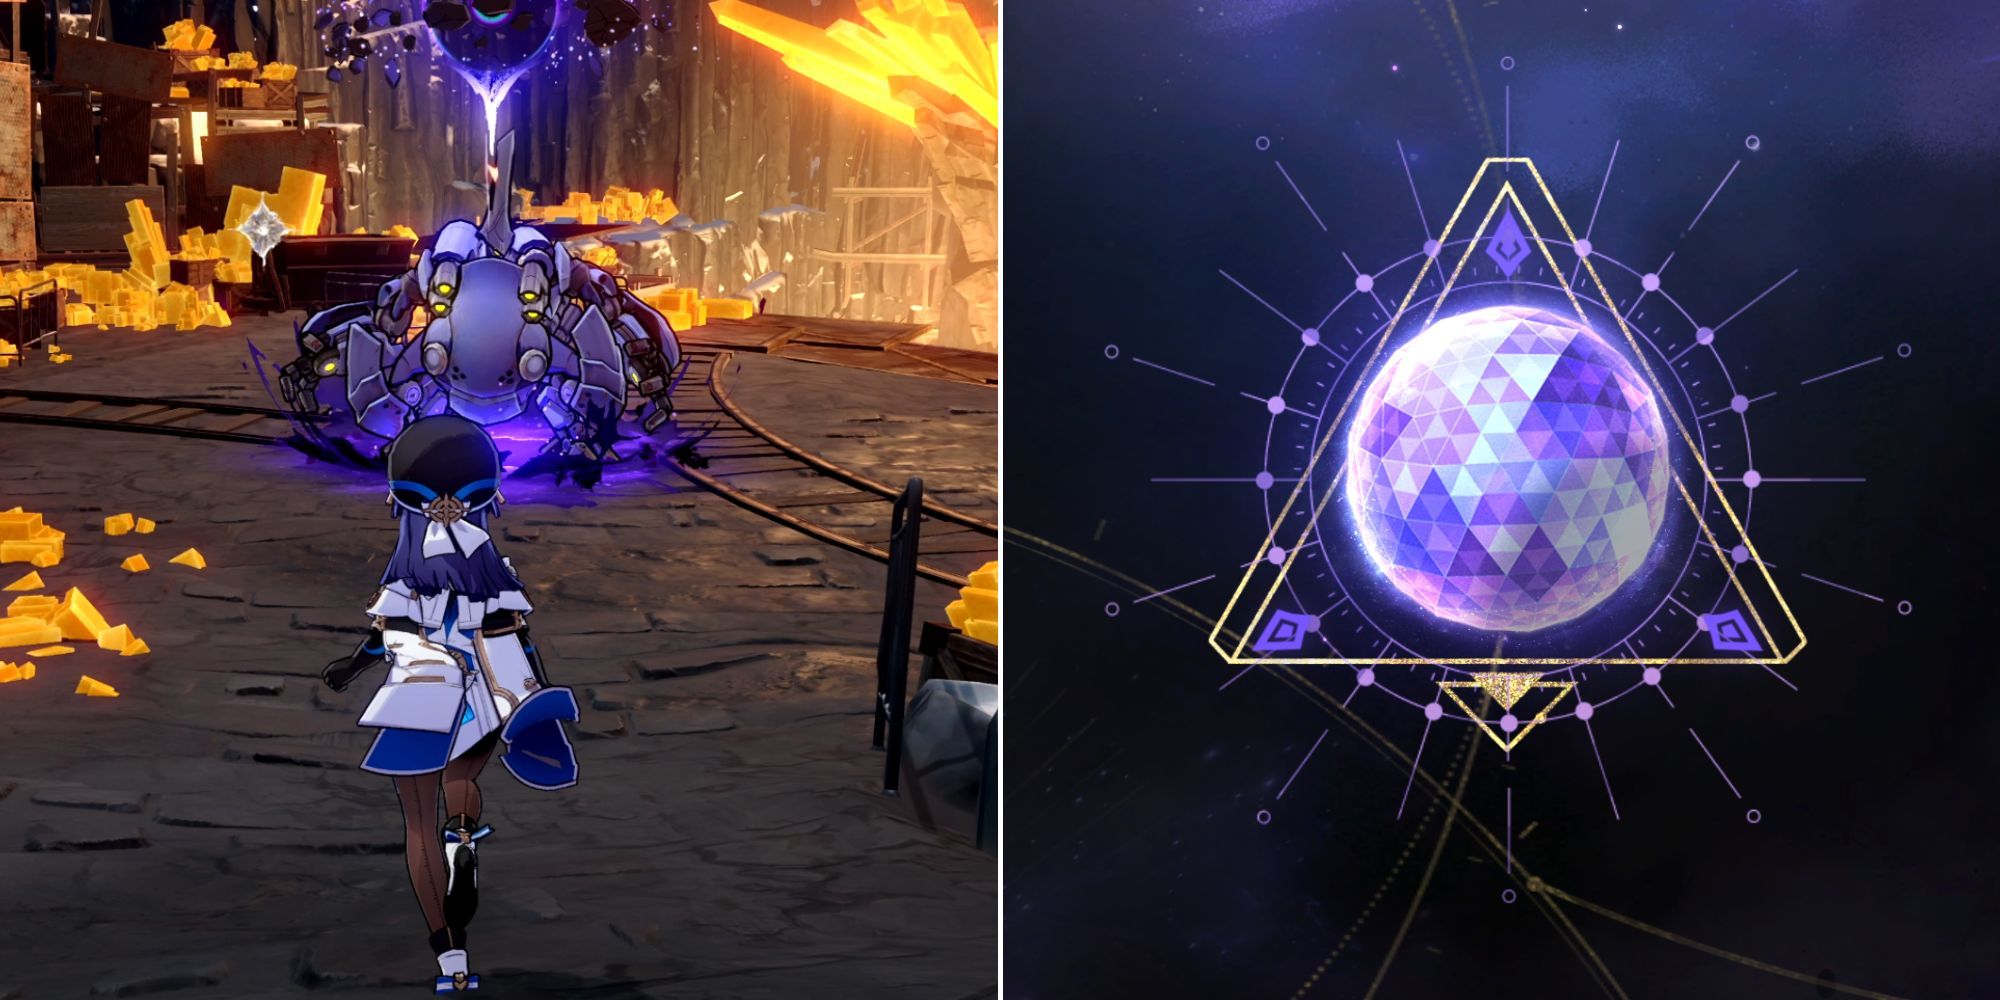
Once you enter the second world of Simulated Universe, you'll first be on a combat floor. You'll have to beat three or four waves of enemies to be able to choose the next floor. Each time you beat a wave, you'll be able to select one out of three blessings, and you can reroll them once after getting a certain upgrade.
You'll also see some Destructible Objects in the area that can give you Cosmic Fragments. These fragments can be used to get a variety of items depending on how many upgrades you have on the Ability Tree. If all your characters get knocked down during any battle, you'll have to restart the world.
Simulated Universe is Roguelike in nature since you get some points every time you're defeated or beat a world.
These points can be spent in the Ability Tree section to get some permanent upgrades.
The general structure of the rooms in this World is randomized every time you start it, and it also depends on the route you take. Though here are a few things that always stay the same:
- There will always be a total of 13 rooms in this world. You'll have to get past 12 rooms to get to the final boss room.
- You'll find Elite bosses in the fourth and the eighth room, and you'll be able to see a different symbol on the portal as you're about to get into an Elite room.
- Respite rooms will be present on floors five, nine, and 12. You can heal your characters, get more Technique points, and upgrade your blessings in this area.
Apart from these confirmed rooms, you can also encounter some special rooms at random, and here's what they do:
Room Name | Function |
|---|---|
Occurrence | In this room, you'll go through a dialogue where you can choose how you want to continue the conversation. Based on your choice, you can get some free items or end up fighting a hard boss. |
Encounter | These rooms have the same color as combat and Elite rooms, but they look similar to the Occurrence rooms once you enter. No matter what you choose, you'll end up fighting an Elite enemy here. If you're new to the game and trying world two for the first time, it's recommended to avoid the Encounter rooms if you can. |
Transaction | This room has the same portal color as Occurrence, but as the name suggests, it'll ask you to give something in exchange for something else. Usually, you'd have to sacrifice some of your characters' HP to get some Blessings or Curios. |
All of these rooms will have a yellow portal that you need to interact with if you want to continue.
You can also see some health or Technique point objects sometimes. It's recommended to break these objects after interacting with the portal.
Enemy Types In World Two
Unlike the first world, you can face a wide range of normal and Elite enemies in this one. The overall pool of enemies gets much bigger since you can face both Herta Space Station and Jarilo-VI enemies. Although, the type of enemies on a particular floor is always from one area, and this can be determined by your surroundings.
It's quite easy to defeat all the normal enemies. Elite and Final bosses are where you'll have to play it safe since they can beat you quite easily if you don't pay attention. Here's everything you need to know about these enemies:
Enemy Name | Type | Combat Types The Enemy Is Weak To | Description |
|---|---|---|---|
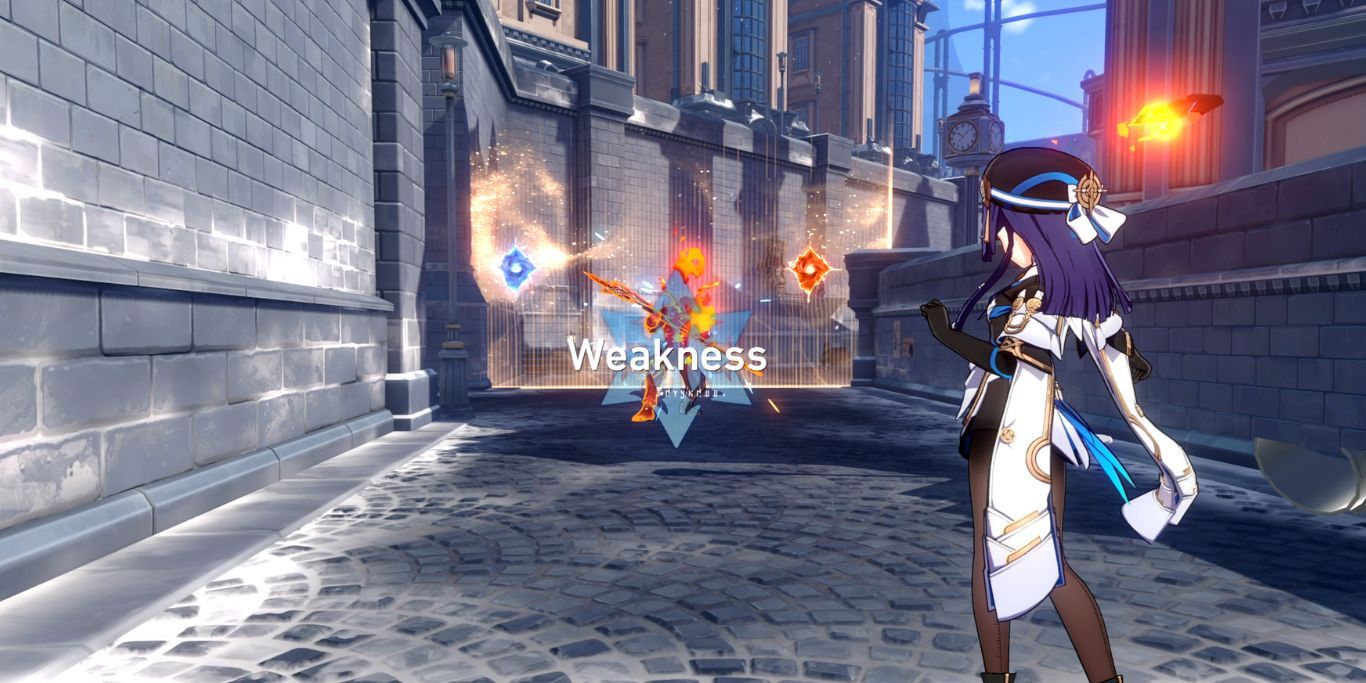
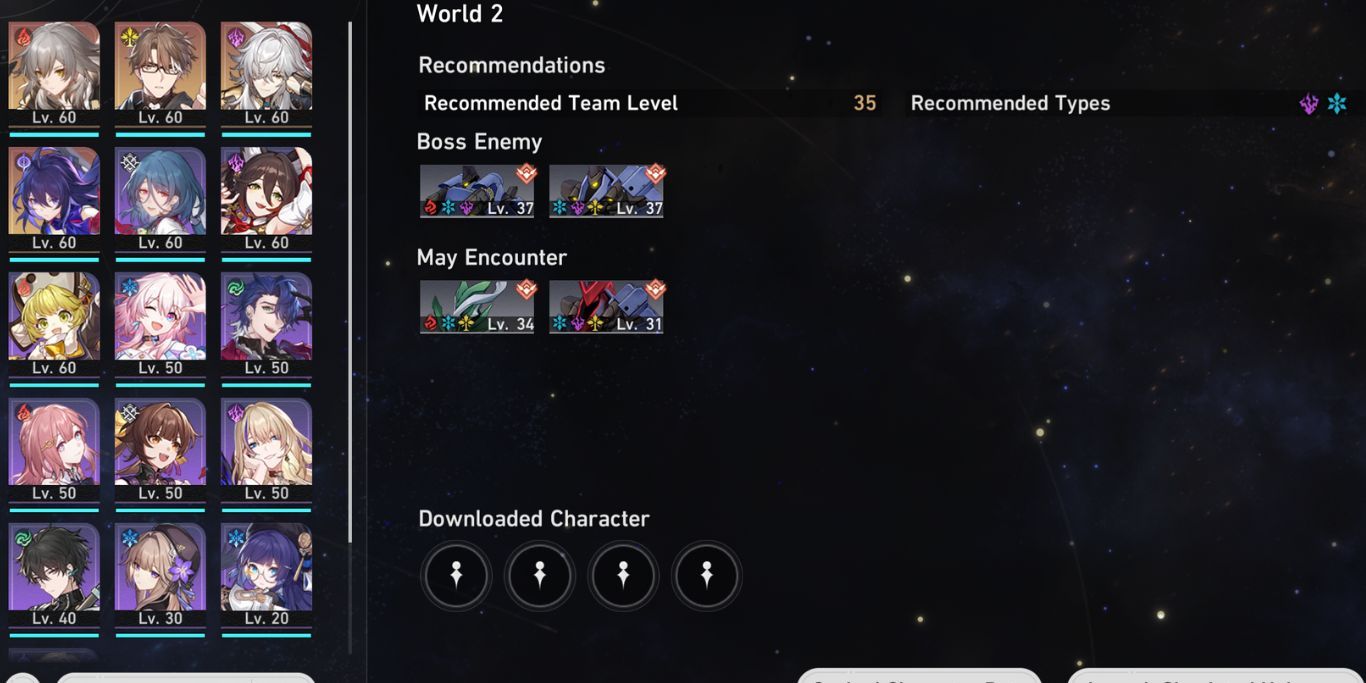
Stormbringer (bug) | Elite | Fire, Ice, Imaginary | This boss has high Wind RES, and it's known for doing charged attacks every turn. The first attack from the boss will be normal, but it'll start charging up every turn after that. It takes two turns to perform this attack. Sometimes, it might also spawn a bunch of Wind flying enemies that deal quite a lot of damage. If you're fighting this boss, it's important to bring AoE characters belonging to one of the mentioned types. |
Searing Prowler | Elite | Lightning, Ice, Imaginary | This Elite doesn't spawn any extra enemies, which means that you'll need single-target damage dealers like Hunt or Destruction characters. After some time, it consumes one of its turns to charge up the blade. In the next turn, it'll perform a heavy AoE attack that'll damage all your characters. Most attacks from this enemy will cause Burn on your characters, so it can be nice to have a character that can remove debuffs. |
Automaton Grizzly | Final Boss | Fire, Ice, Lightning | This boss is known for its AoE attacks and spawning bomb-type enemies. Although, it can also do a single-target attack with its blade. Both attacks that come directly from the boss deal quite a lot of damage. The smaller enemies that it spawns will get a turn after a while, and they'll deal heavy AoE damage to your characters if they're not defeated by then. |
Automaton Direwolf | Final Boss | Lightning, Ice, Imaginary | You'll face both the Automatons at the same time, and this one specializes in heavy single-target damage. It doesn't spawn extra enemies, but it does have a charging phase where it locks onto one ally. This lock-on doesn't go away even if you break its Toughness bar, which means that you'd want to use a shielder to protect that ally from heavy damage. |
Best Path And Characters For World Two
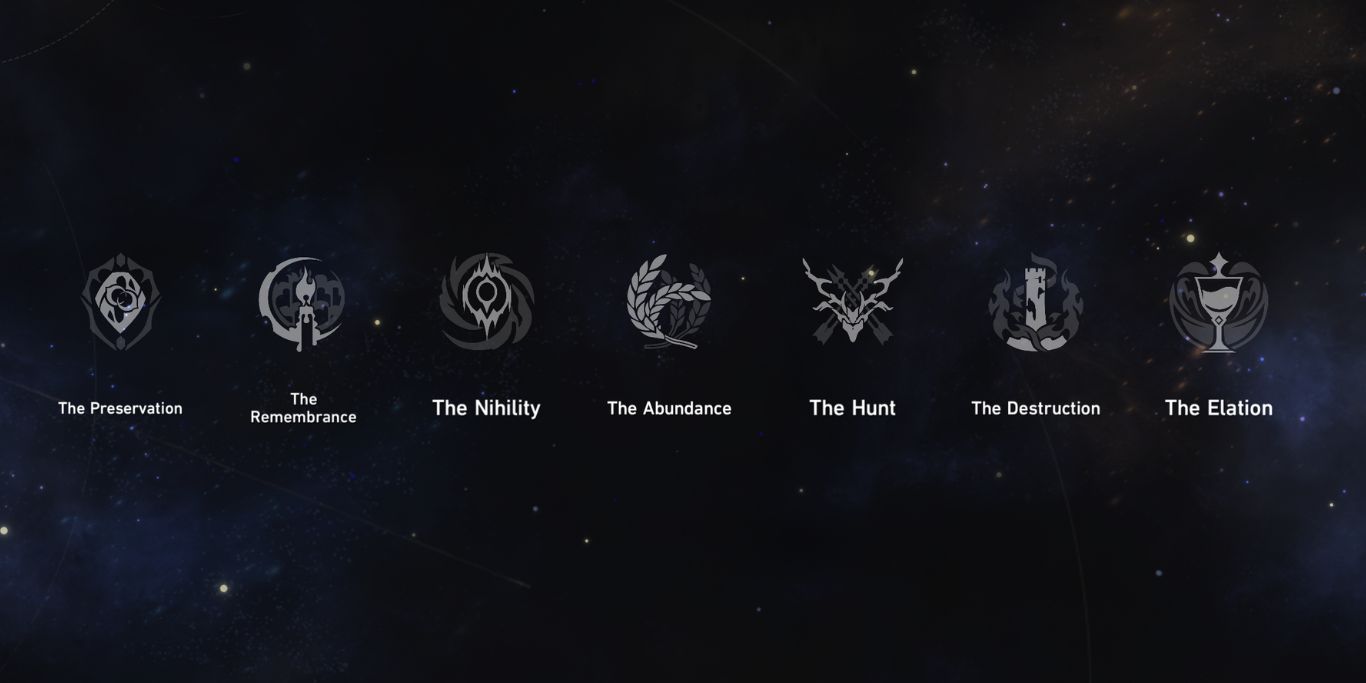
If you've unlocked the first main ability in the tree, you'll be able to choose a certain path at the start of your run. You'll only have a few paths available when you're on world two since many of them unlock on higher worlds. The best overall path you'll have for the second world is The Hunt.
Once you select a path, you have a higher chance of getting blessings from it. Upon getting three blessings of that path, you'll be able to activate Path Resonance, which gives you an extra ability. For Hunt, this ability rains down arrows on all enemies and deals heavy damage. This ability gets charged up when you use your abilities or take damage.
You can also choose up to four characters at the starting screen of this world. This choice is a major factor in the overall result of your run since you can't change characters unless you download a new one in the Respite rooms. The recommended combat types for this World are Ice, Lightning, and Imaginary.
Here are some of the characters that can give you a ton of value if you have them leveled up:
- Serval
- Herta
- March 7th
- Welt
- Jing Yuan
- Pela
Most of these characters can easily be acquired if you wish on any of the banners. Although, if you're an F2P or low-spending player, you can only level up a few characters at the start.
World Two Completion Rewards
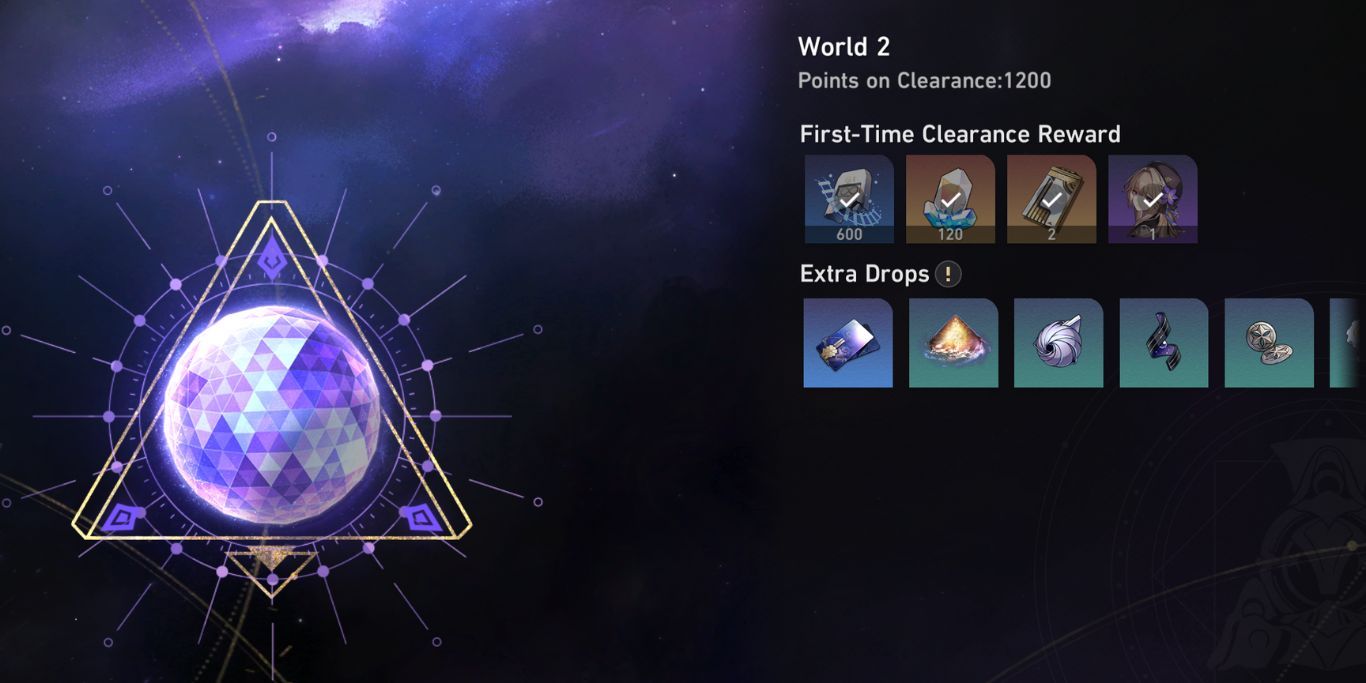
You'll get the following rewards when you finish the Simulated Universe world two for the first time:
- 600 Trailblaze EXP
- 120 Stellar Jades
- Two Herta Tokens (can be used in Herta Shop)
- One Herta Eidolon
Apart from that, you'll also get some Credits, Relic EXP, and mob drops whenever you defeat an Elite or Final boss in the world. You can get these rewards up to 100 times every week, which makes Simulated Universe quite replayable.

